How to Achieve Perfect Concrete Leveling with Foam: A Step-by-Step Guide
Uneven concrete slabs can make your beautiful patio or driveway dangerous and unsightly. Traditional concrete replacement might cost thousands of dollars, but we’ve discovered a quicker and more economical solution.
Foam concrete leveling has transformed the way contractors fix sunken concrete. This modern technique lifts and stabilizes concrete surfaces with expanding polyurethane foam. The best part? It usually costs half as much as replacement.
Your tilted walkway or sunken pool deck needs a solution that lasts, and foam concrete leveling delivers exactly that. This piece explains the foam injection process step by step, from material selection to achieving the perfect lift. You’ll also learn maintenance strategies to keep your leveled surface stable for years.
Essential Tools and Materials for Foam Concrete Leveling
The right tools and materials are the foundations of successful concrete leveling with foam. Let me walk you through everything you need to handle a professional-grade concrete lifting project.
Required safety equipment and protective gear
Safety should be your top priority when you work with polyurethane foam. Here’s the protective gear you need:
- Hard hat and steel-toed boots protect you from heavy objects
- Safety glasses and goggles shield your eyes from spray and debris
- Heat-resistant gloves help you handle temperature-controlled equipment
- Heavy-duty protective clothing
Foam injection equipment checklist
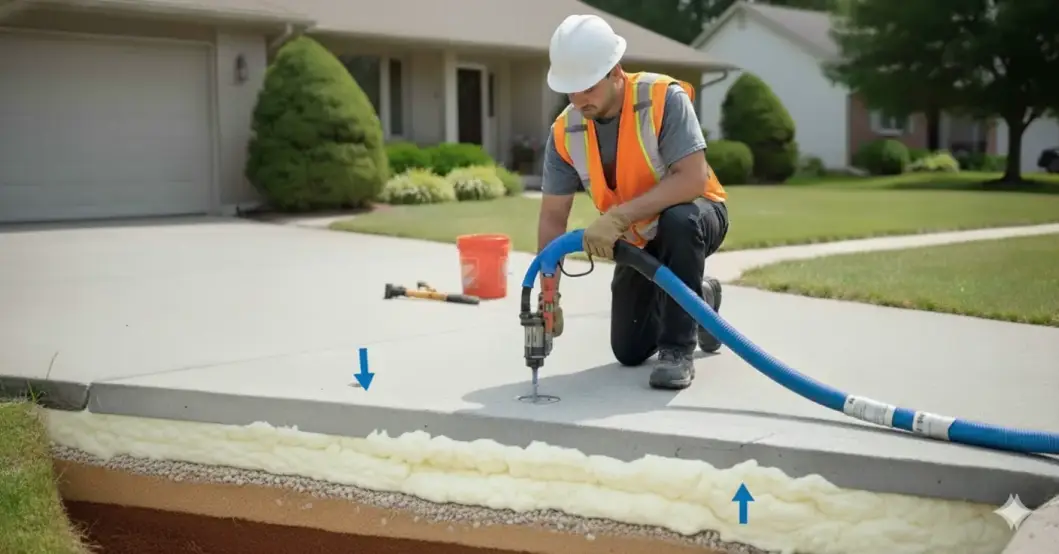
Professional foam concrete leveling needs specialized equipment. You’ll need a hammer drill with a 3-4 foot drill bit, an injection gun, and a reliable level that helps you track concrete movement. A specialized foam jacking pump that runs at 800-1000 psi works best. The pump keeps component temperatures between 110°F and 125°F to deliver optimal results.
Types of polyurethane foam and their applications
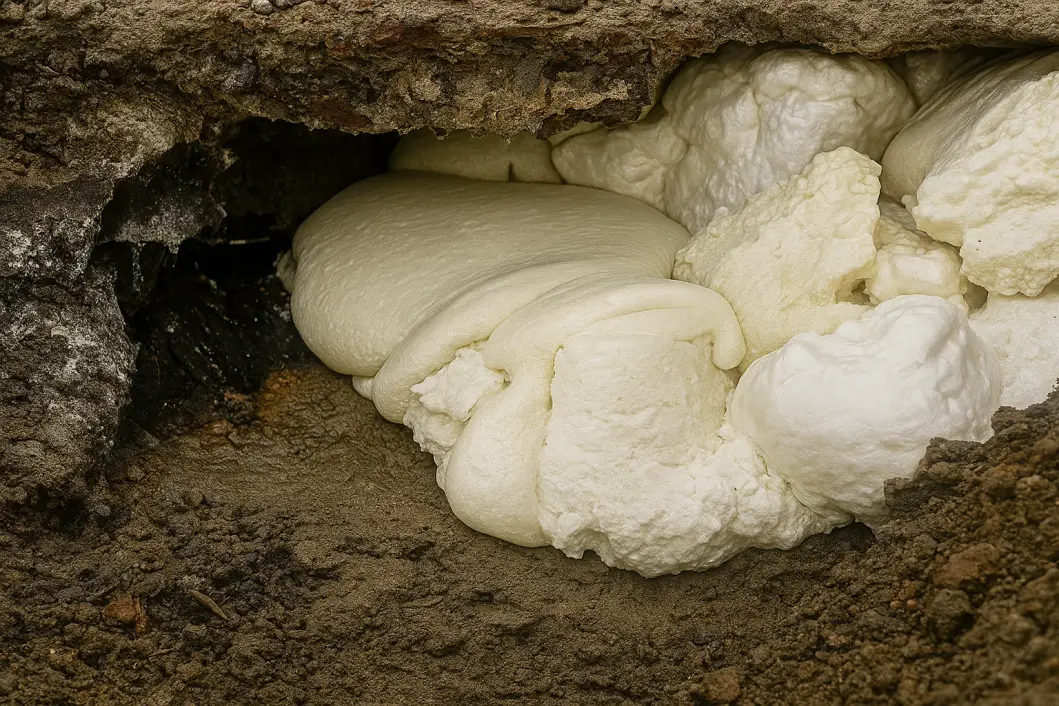
Your project’s specific needs determine the type of foam we use. Lightweight foam suits residential work, while highways and industrial applications need high-density options. The foam we pick expands 20-25 times its original volume and gives you the right “aggressiveness” to lift concrete effectively.
Modern polyurethane foam’s unique feature is its hydrophobic and waterproof nature. This ensures the foam keeps its structural integrity even in moisture. Projects with water exposure need hydro-insensitive foam that’s built for sub-grade applications.
Preparing Your Concrete Surface for Leveling
Success in foam concrete leveling starts with the right preparation. Our years of hands-on work have taught us that attention to detail makes all the difference.
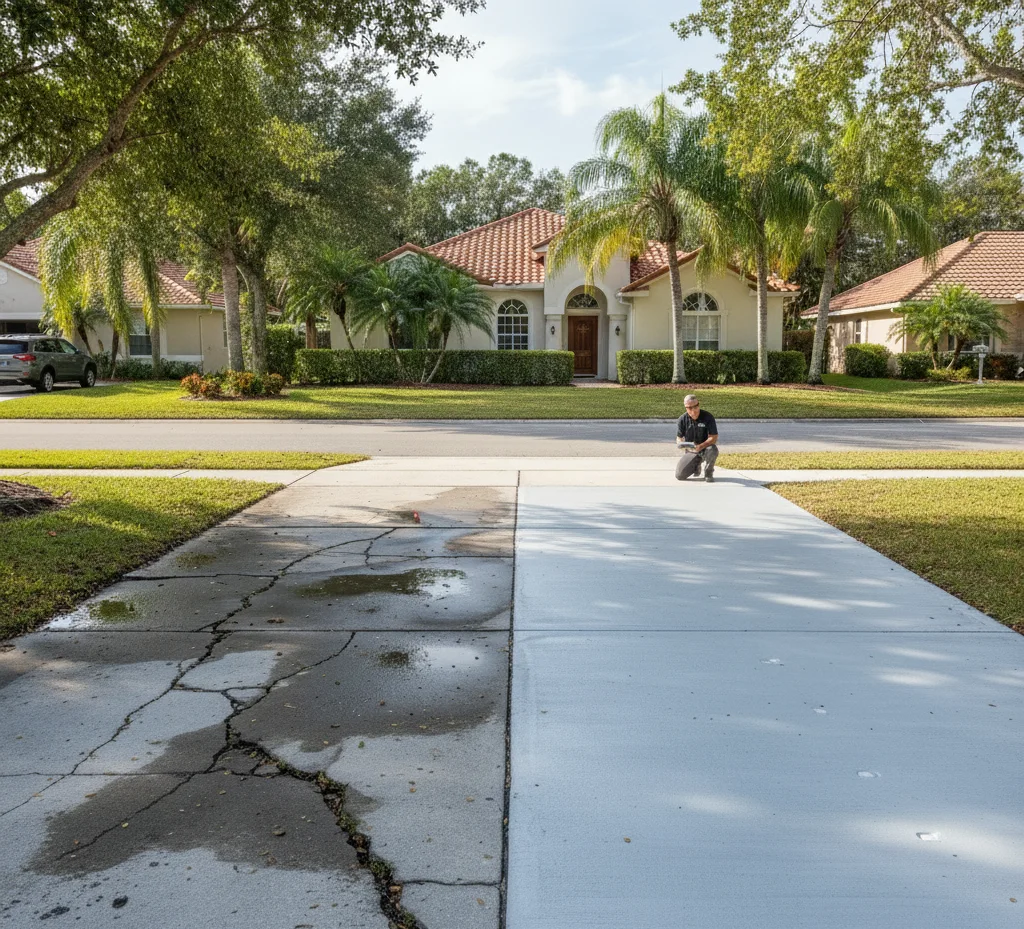
Conducting a full surface inspection
Every project starts with a complete inspection of the concrete surface. Our team checks these signs to determine the best leveling approach:
- Visible cracks and structural damages
- Signs of soil erosion underneath
- Gaps between concrete and building
- Areas of water pooling
- Loss of support due to voids
Cleaning and clearing the work area
A clean workspace helps foam concrete leveling work better. These steps matter:
- Sweep or vacuum the surface to remove dirt and debris
- Clear all obstacles from the work area
- Remove any organic material near the concrete
- The surface needs to be completely dry for the foam to expand well
Marking injection points and measuring settlement
The next phase focuses on exact measurements and marking. We measure how much the sunken slabs have dropped and mark injection points about 18 to 24 inches apart. This placement gives even pressure during lifting.
Our specialized equipment finds voids and measures how much the concrete has settled. Probing and soil testing show if deep hidden voids need more material. This full picture helps us know exactly how much foam we need for proper leveling.
These preparation steps give our foam concrete leveling projects the best chance to succeed. Experience shows that good preparation stops most problems before they start during injection.
Step-by-Step Foam Injection Process
Let’s explore the exact steps of foam injection. Accuracy and timing are essential to achieve perfect concrete leveling.
Drilling injection holes properly
The process begins with drilling holes that are approximately ⅝ inches in diameter at strategic points on the concrete surface. These holes need to be 18 to 24 inches apart to provide optimal coverage. The holes must penetrate through the entire thickness of the concrete slab, which allows complete void filling beneath.
Calculating foam quantities needed
Two significant factors determine our foam quantity calculations:
- Void filling requirements: The typical expansion rate is 20 times, and we use about 0.374 gallons per cubic foot of space
- Lifting requirements: A half-pound of polyurethane lifts one square foot by ½ inch
Executing the injection sequence
The injection process demands careful monitoring and exact execution. The foam goes through the first hole while we watch it expand and compress against the soil. It takes about 15 minutes for the foam to cure completely.
We monitor the concrete’s level continuously and adjust our approach based on what we see. This careful observation prevents over-lifting and gives even pressure distribution. Moving systematically from hole to hole with steady pressure helps achieve uniform lifting across the entire slab.
The process succeeds through a careful balance of injection rate and monitoring. The foam fills existing voids first before it builds enough pressure to lift the concrete. We alternate injection points when needed to minimize stress on the concrete and prevent potential cracking.
Post-Leveling Care and Maintenance
The success of foam injection depends on proper aftercare. Let’s look at everything you need to know about maintaining your newly leveled concrete.
Proper curing time and weight restrictions
Foam concrete leveling offers quick curing times. The foam reaches 90% of its final strength in just 15 minutes after application. You can start using your concrete surface right after the procedure. The first hour needs special attention with heavy loads as the foam completes its curing process.
Sealing and finishing injection points
The desired level achieved leads to careful sealing of all injection points. A specialized fiber-reinforced cement patching mortar seals the holes. This mortar proves stronger than the original concrete surface. You’ll barely notice these sealed points since they measure only about ⅝ inches in diameter.
Long-term maintenance tips
Your investment needs protection through these vital maintenance practices:
- Regular Inspections: Check twice yearly to spot potential problems early
- Surface Care: Clean with mild detergents and soft brushes to avoid surface damage
- Drainage Management: Good water drainage around concrete surfaces prevents soil erosion
- Protective Sealing: A high-quality concrete sealant application every few years helps
Our foam stays impermeable and won’t erode or let moisture seep through. UV exposure remains the only element that can break down the foam. Proper grading around concrete edges provides the needed protection.
Good maintenance helps your foam-leveled concrete last as long as the concrete itself – typically 20 to 50+ years. Quick attention to cracks and proper drainage prevents future settlement problems.
Conclusion
Foam concrete leveling offers a smart, budget-friendly way to fix uneven concrete surfaces. This innovative technique can restore your concrete at half the cost of replacement. The results look professional and last for decades.
Your success with foam leveling relies on careful preparation, precise execution, and proper aftercare. Our experience shows that getting perfect concrete leveling requires attention to detail. The process starts with a full picture of the surface and continues through strategic foam injection and proper sealing.
Foam leveling proves especially practical because it cures quickly and minimizes property disruption. You can use most surfaces within minutes after completion. The leveled concrete stays stable for over 20 years with proper maintenance. Note that regular inspections and good drainage management will protect your investment and prevent future settling

